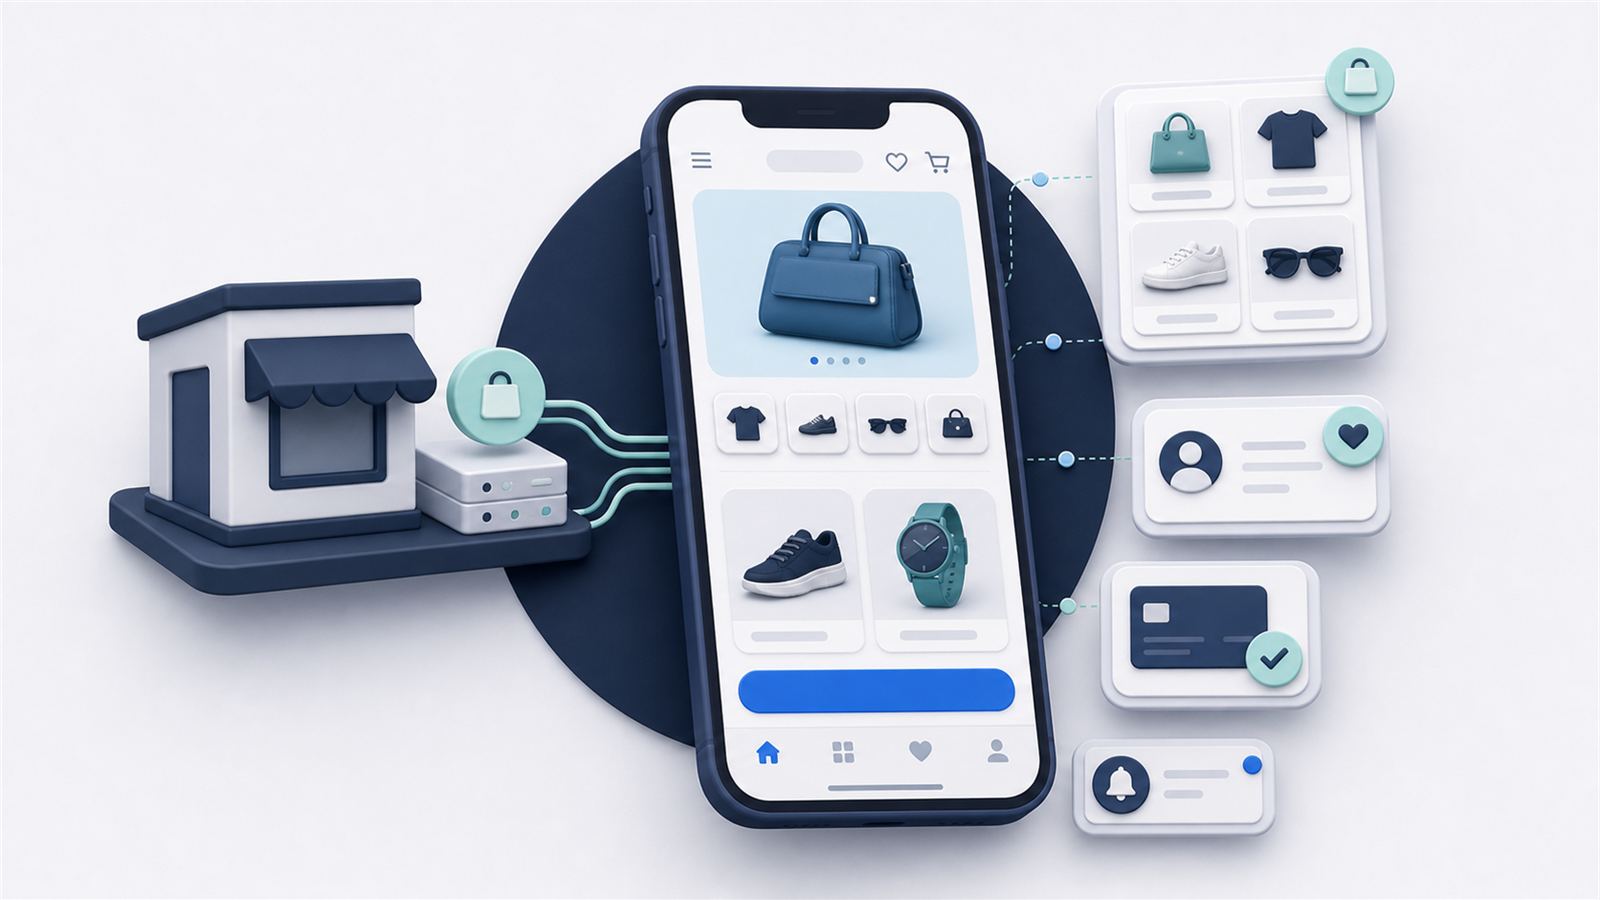
Building an ecommerce mobile app does not have to mean hiring a development team and starting from a blank screen.
Most brands already have the difficult parts of an ecommerce operation in place: a product catalog, checkout, customer accounts, payment methods, integrations, analytics, and a mobile website.
The real decision is how much of that existing setup you can reuse in the app; and how much you genuinely need to rebuild.
For most established stores, an ecommerce app builder or managed app service is the most practical route. Custom development makes sense when the app needs to do something that an existing platform cannot support.
This guide walks through the full process, from deciding what the app needs to do to getting it live in the app stores.
The Short Answer
To build an ecommerce mobile app:
Start by deciding what the app should achieve and documenting the store, features, and integrations it must support. Then choose the simplest build approach that can handle those requirements and define a focused first version.
From there, design the shopping experience, connect the ecommerce stack, and test complete customer journeys. The final stage is preparing the developer accounts and store listings, submitting the builds, promoting the app, and improving it after launch.
The technology matters, but the biggest early decision is the build approach. That choice determines the cost, timeline, flexibility, and amount of ongoing work your team will own.
Step 1: Decide What the App Needs to Achieve
Start with the job, not the feature list.
An ecommerce app is usually a retention channel. It gives existing customers a faster route back to your store and lets you reach them directly through push notifications.
Common goals include:
For many brands, the goal is to increase repeat purchases by making it easier for loyal customers to return and buy. The app might speed up reordering, strengthen a loyalty or membership program, or support product drops, restocks, and time-sensitive promotions.
The commercial benefit usually comes from combining that improved shopping experience with a direct push channel. That can reduce the brand’s reliance on paid retargeting, email, and SMS to reach its best customers.
Try to express the goal in a measurable sentence. For example:
We want to give repeat customers a faster shopping experience and use push notifications to bring them back for launches and restocks.
That is much more useful than “we need a mobile app.” It helps you decide which features matter and which are distractions.
You should also be clear about why a customer would download the app. Faster shopping may be enough for a brand with a loyal customer base. Other stores may need app-only offers, early access, loyalty benefits, easier subscription management, or another recurring reason to return.
Step 2: Audit the Store You Already Have
Your app has to work with the ecommerce business you operate today.
Create a list of every customer-facing feature and system that needs to work in the app. Include:
Start with the commerce foundation: your platform and storefront architecture, catalog, inventory, merchandising rules, customer accounts, cart, checkout, payments, discounts, tax, and shipping.
Then document the customer-facing tools around it. That includes search, reviews, loyalty, subscriptions, bundles, personalization, support, analytics, and any content or landing-page system. If you operate across several markets, record the storefronts, languages, currencies, and regional differences the app needs to preserve.
Do not treat this as paperwork. It becomes the compatibility checklist you use to compare providers and test the finished app.
Pay particular attention to anything custom. A standard Shopify catalog and checkout are usually straightforward. A store with custom product configuration, unusual account logic, multiple regional storefronts, or a heavily modified checkout needs more investigation.
Step 3: Choose the Right Build Approach
There are four realistic routes for most ecommerce brands.
| Approach | Best for | Main advantage | Main trade-off |
|---|---|---|---|
| Self-service app builder | Stores with relatively standard requirements and an internal owner | Fast and comparatively inexpensive | Limited to supported components and integrations |
| Managed app service | Established brands that want a provider to handle the project | Lower internal workload and more hands-on support | Higher ongoing cost than a DIY builder |
| Website-based app | Brands with a strong mobile site or a complex tech stack | Preserves more of the existing site and reduces duplicate work | App quality depends heavily on the mobile website |
| Custom development | Apps with genuinely unusual functionality or product requirements | Maximum control | Highest cost, longest timeline, and most maintenance |
Self-Service Ecommerce App Builder
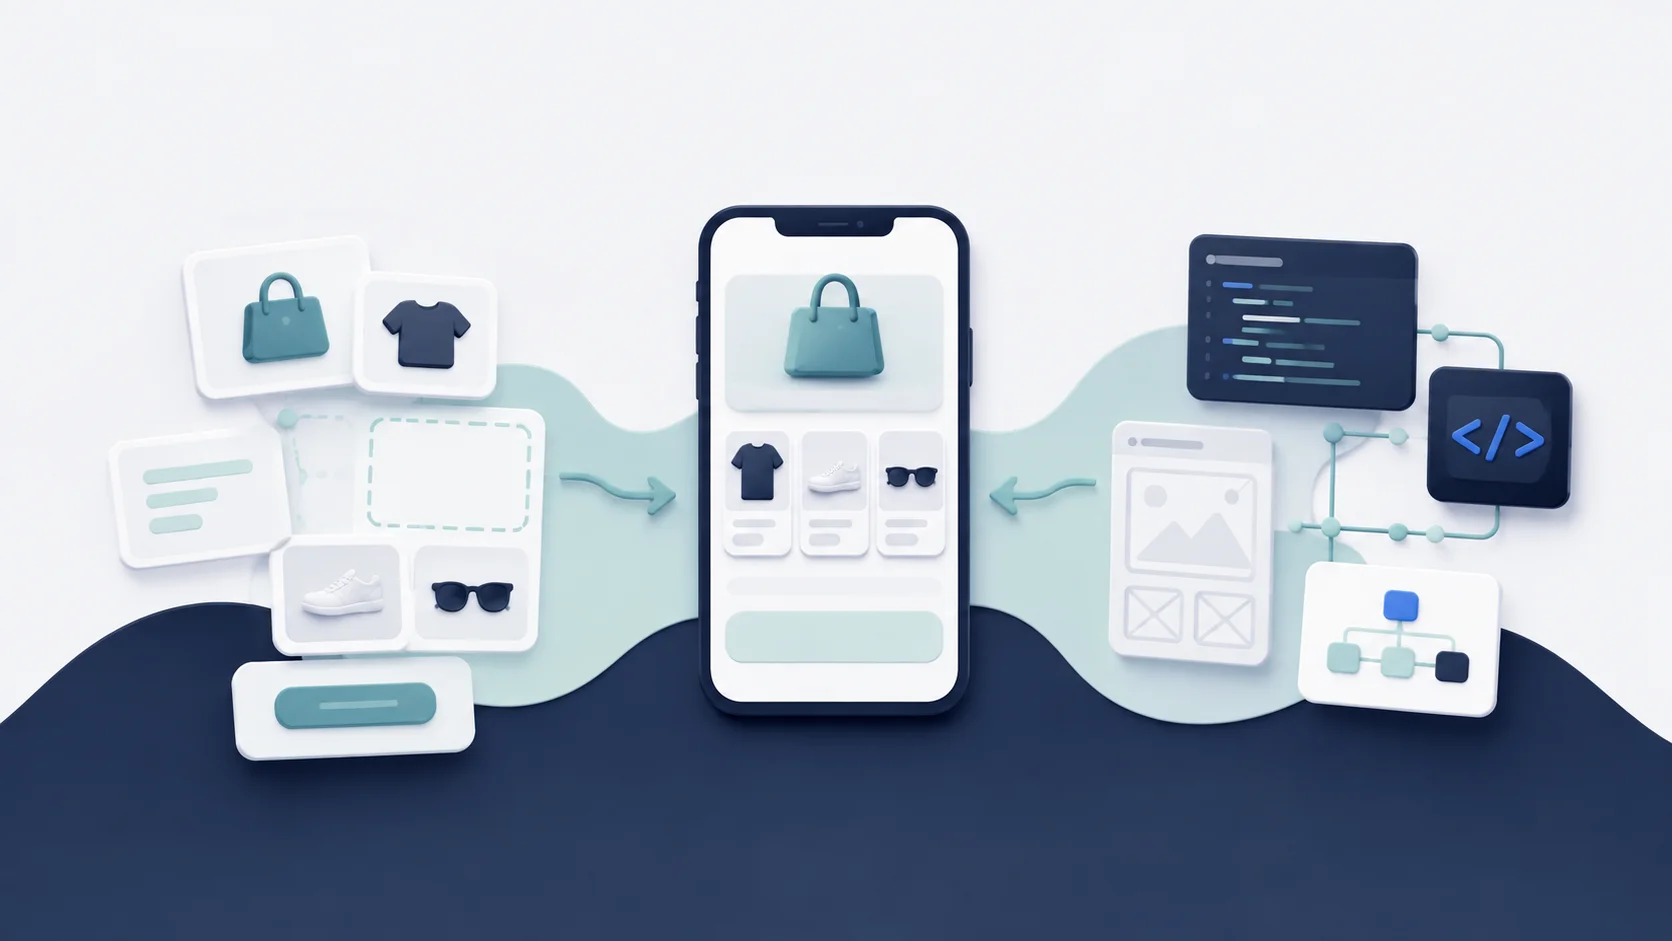
A self-service builder connects to your ecommerce platform and gives you prebuilt screens or blocks for creating the app.
You normally arrange the homepage, navigation, product grids, banners, and other elements in a visual editor. Products, inventory, customers, and orders stay connected to the ecommerce backend.
This is often the fastest route. It works well when your requirements fit the platform and your team is comfortable managing a second storefront experience.
The limitation is that the builder can only reproduce what its components and integrations support. If your store relies on custom code or an unsupported third-party tool, you may need a workaround or accept that the app will work differently from the website.
Managed App Service
A managed service uses an established app platform but takes responsibility for more of the project.
The provider may handle design, setup, integrations, testing, app-store submission, updates, and technical support. Your team still owns the commercial side - promotion, merchandising, and messaging - but does not have to become an app development team.
This is a strong fit for lean ecommerce teams that want a predictable launch and low ongoing technical workload.
Website-Based App
A website-based app uses your existing mobile site as the core shopping experience, then adds native navigation, push notifications, deep links, app-only screens, and other mobile features around it.
The main advantage is parity. Your existing design, checkout, custom functionality, and third-party tools can continue working without being rebuilt one by one. Website changes can also flow into the app automatically.
The trade-off is straightforward: the underlying mobile site needs to be good. An app framework cannot rescue a slow, confusing, or poorly optimized store.
Custom App Development
Custom development gives you the most freedom. You can use a cross-platform framework such as React Native or Flutter, or build separate native apps for iOS and Android.
This is appropriate when the app is a distinct product rather than another storefront. For example, when it depends on unusual device capabilities, a highly specialized interface, or business logic that existing platforms cannot support.
For a conventional shopping app, custom development is often more software than the business needs. You are not only paying to create the first version. You are taking responsibility for a separate frontend, integrations, releases, bugs, operating-system updates, and years of maintenance.
For a deeper comparison, see Ecommerce App Builders vs Custom Development.
Step 4: Define a Focused First Version
Once you have chosen the approach, decide what must be included at launch.
A practical first version usually needs:
- A clear homepage, navigation, search, and product-discovery journey
- Complete product, variant, cart, and checkout functionality
- Customer login, account access, and the integrations customers rely on
- Analytics, push notifications, and deep links
- Privacy, consent, and notification-permission flows
Separate those essentials from ideas that can wait.
It is easy to turn the first version into a wishlist: a new loyalty system, a community area, live shopping, gamification, augmented reality, and a completely redesigned account experience. Every addition creates more design, integration, testing, and maintenance work.
Launch the smallest version that delivers the core customer value. Use real behavior after launch to decide what to add next.
Step 5: Design the Mobile Shopping Experience
The app should feel familiar to existing customers while still behaving like an app.
Focus on the journeys that drive revenue:
A customer should be able to find a product, move between categories, choose a variant, add it to the cart, apply a discount, and check out without friction. Returning customers should be able to resume a saved cart and reach their orders, rewards, or subscriptions without hunting through menus.
Navigation should be comfortable with one hand. Search and cart access should be obvious. Returning users should not have to sign in every time. Push notifications should open the exact product, collection, or cart they refer to.
Do not redesign everything simply because you have a new surface. If the website already converts well and customers understand it, consistency can be more valuable than novelty.
Step 6: Connect Your Ecommerce Stack
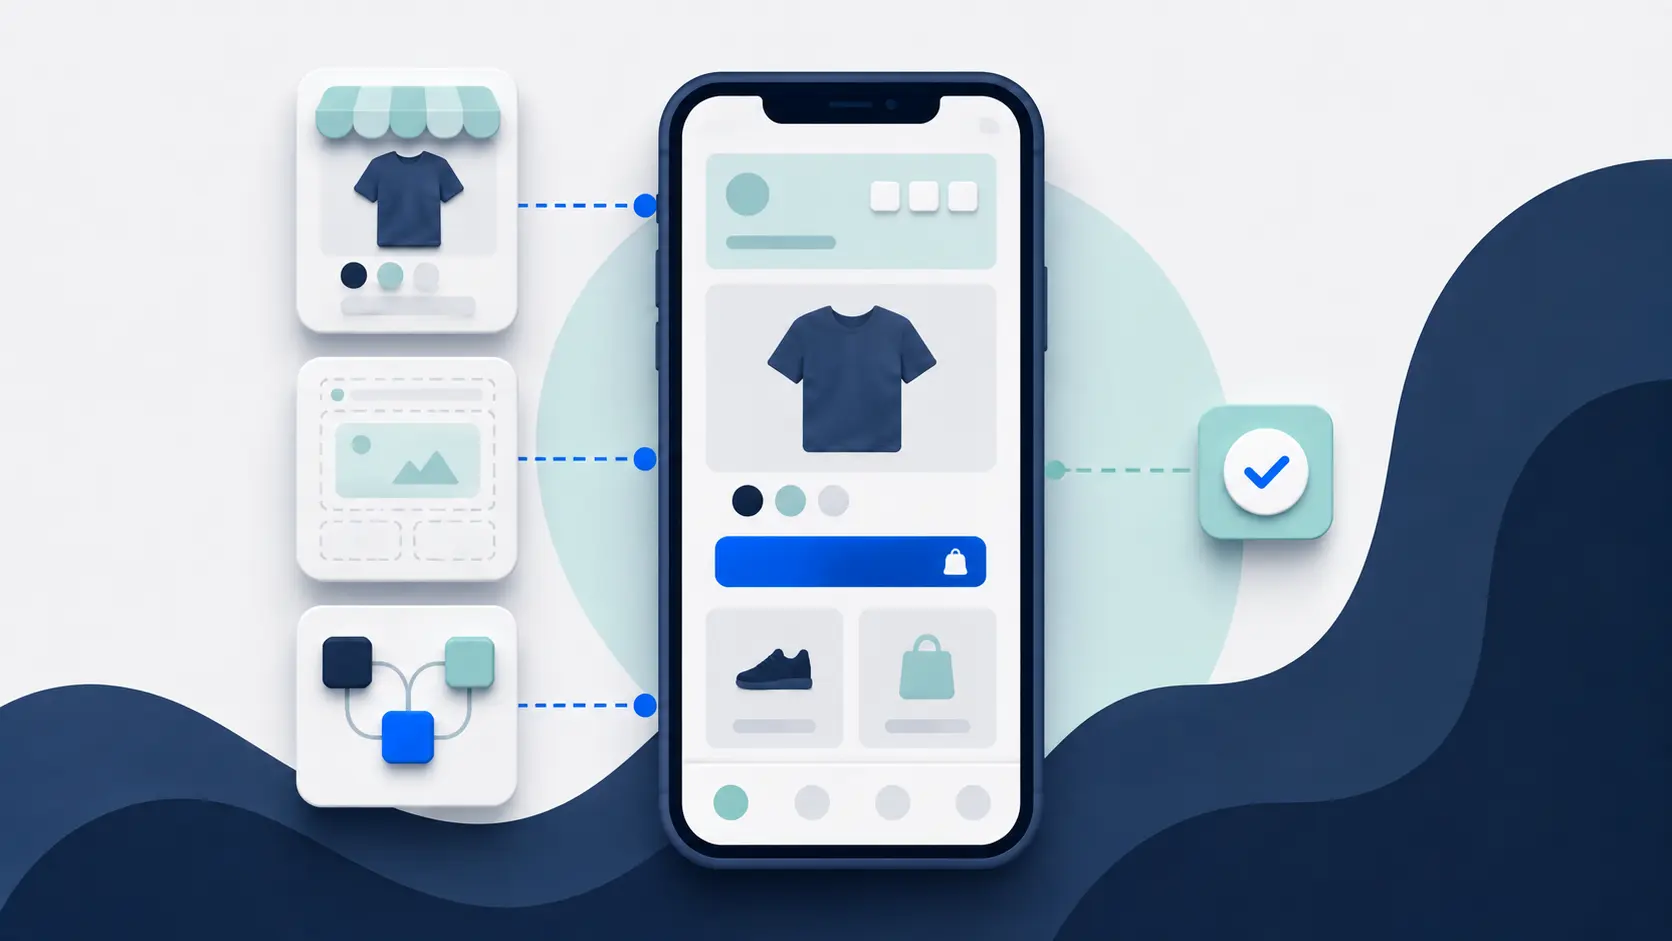
The app needs reliable access to your products, inventory, prices, customers, cart, checkout, and orders.
Depending on the approach, that connection may use APIs, web content, software development kits, prebuilt integrations, or a combination of all four.
This is where many projects become more complicated than the initial demo suggests.
Suppose your store uses a subscription platform. “Supported” could mean that subscription products can be purchased. It does not necessarily mean customers can skip, pause, swap, or cancel an existing subscription inside the app.
Ask providers to demonstrate the exact journeys your customers use. Bring real products, promotions, accounts, and payment methods into the test.
Step 7: Test the App Like a Store, Not a Prototype
A homepage that looks polished tells you very little about whether the app is ready to handle orders.
Test the entire buying journey, including:
Begin with commerce accuracy. Products, prices, variants, inventory, search results, filters, discounts, bundles, shipping, tax, and payment methods all need to behave as they do on the live store.
Next, test customer state and connected tools: registration, login, password recovery, cart persistence, loyalty, reviews, subscriptions, account functions, push deep links, analytics, and attribution.
Finally, test the conditions customers will actually use. Cover different devices and screen sizes, slow connections, interrupted sessions, accessibility settings, and larger text sizes.
Include people from ecommerce, marketing, customer support, and operations in acceptance testing. They will catch issues that a developer or designer may not recognize as commercially important.
Step 8: Prepare for the App Stores
To publish under your brand, you will normally need an Apple Developer account and a Google Play Console account.
You will also need:
The submission package includes the app name and description, icon and launch assets, store screenshots, privacy policy and disclosures, content ratings, support details, and signed iOS and Android builds.
Apple and Google review submissions against their current technical and policy requirements. Approval is not automatic, and the reviewers may request changes.
Before choosing a provider, confirm who creates the listings, prepares the builds, submits them, responds to review feedback, and manages future releases. The brand should retain control of its developer accounts and listings.
Step 9: Plan the Launch Before Your App Is Approved
Publishing your app does not automatically create an audience.
Plan how customers will discover it across:
Use the channels you already control. Promote the app on the website, in email and SMS, and throughout order confirmation, post-purchase, and loyalty flows. Social posts, packaging inserts, physical stores, and customer-support conversations can extend the campaign where they make sense.
Give customers a specific reason to install it. “Download our app” is weak. “Get early access to every product drop” or “manage your rewards and reorder in a few taps” gives the download a purpose.
The best launch audience is usually your existing customer base. These people already know the brand and are more likely to shop again.
Step 10: Treat the App as an Ongoing Channel
The project doesn’t end when the app appears in the stores.
You need to manage it and work with it to maximize how much value it delivers to your business.
Measure acquisition first: store-page visits, install rate, account sign-ins, and monthly active users. Then look at channel engagement through push opt-in, opt-out, and response rates.
Commercial performance should include conversion rate, average order value, repeat purchase behavior, revenue per app user, and genuinely incremental app revenue. Keep the product-health signals beside them - crashes, poor reviews, and uninstalls can explain why the commercial numbers are moving.
Use this data to improve onboarding, promotion, merchandising, push campaigns, and the product itself.
Assign a clear owner inside the business. Even a fully managed provider cannot decide which launches matter, what your customers value, or how the app fits your retention strategy.
How Long Does It Take?
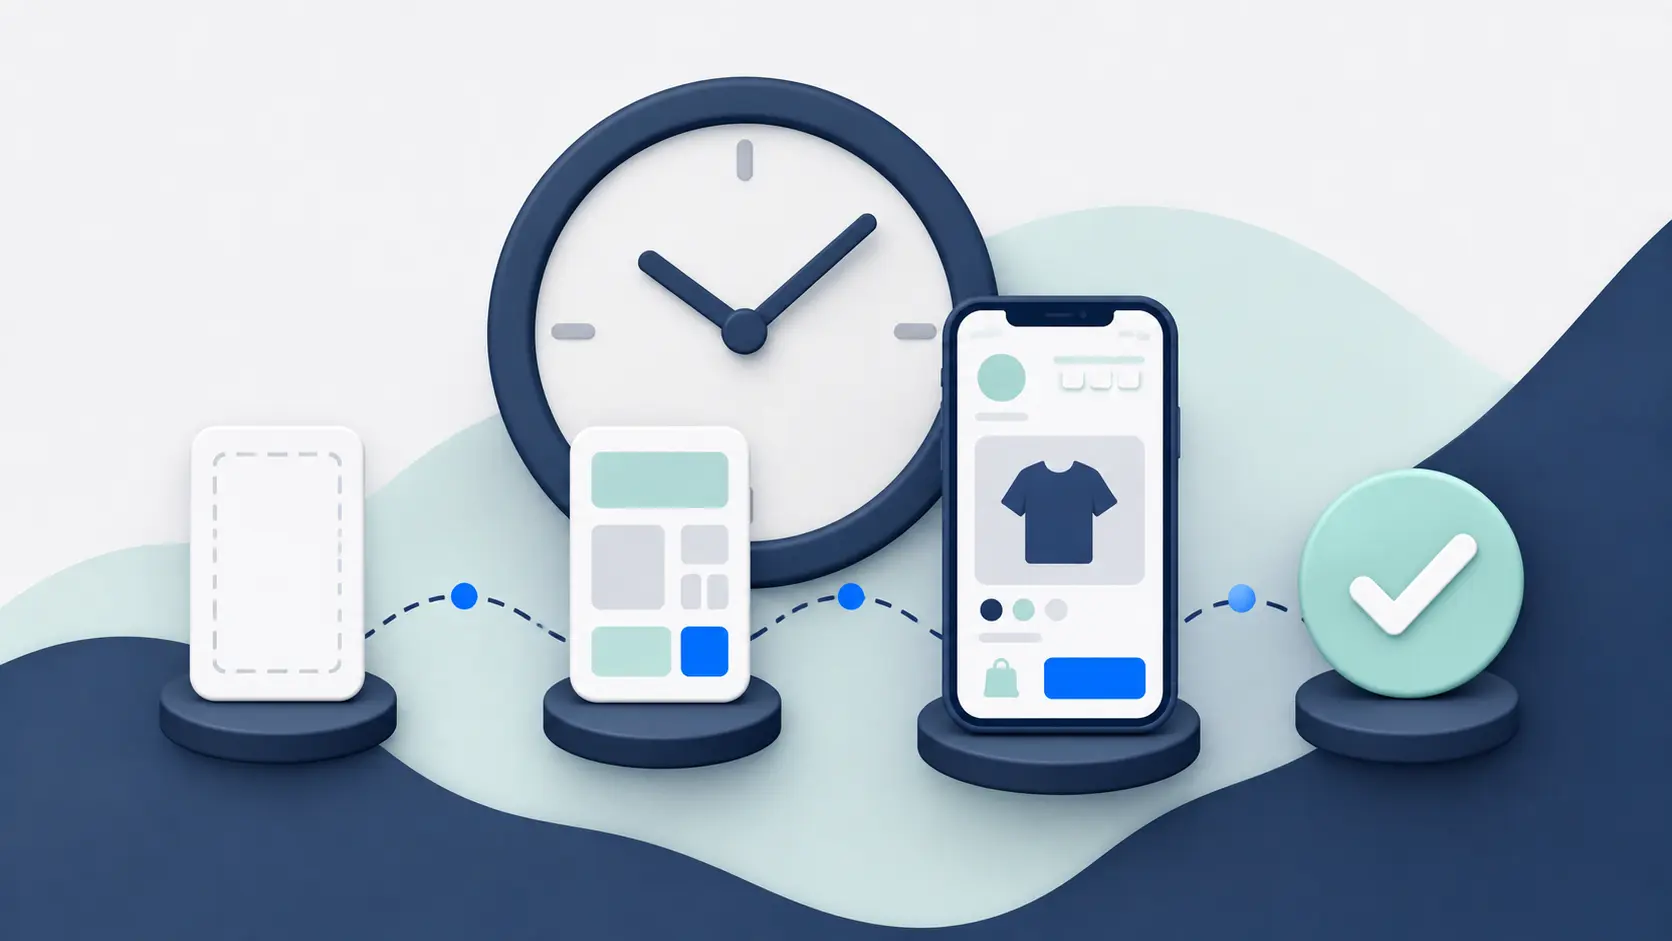
An app builder can often get a relatively standard store ready in a few weeks. A managed or website-based project commonly takes around four to eight weeks. A custom app may take several months and can run much longer when the scope or integrations are complex.
The biggest sources of delay are usually not the app screens. They are unclear requirements, custom integrations, slow feedback, developer-account setup, testing, and app-store review.
See How Long Does It Take to Build an Ecommerce Mobile App? for a fuller timeline.
What Is the Best Way to Build an Ecommerce App?
For most established ecommerce brands, start by evaluating an app builder or managed service.
You already have a functioning commerce operation. Reusing it is usually faster, cheaper, and easier to maintain than creating a second storefront from scratch.
Choose custom development only when you can point to requirements that the established options genuinely cannot deliver, and when the value of those requirements justifies the added cost and ownership.
The best approach is not the one that produces the most technically ambitious app. It is the simplest approach that can deliver the customer experience you need without creating a second ecommerce business for your team to manage.