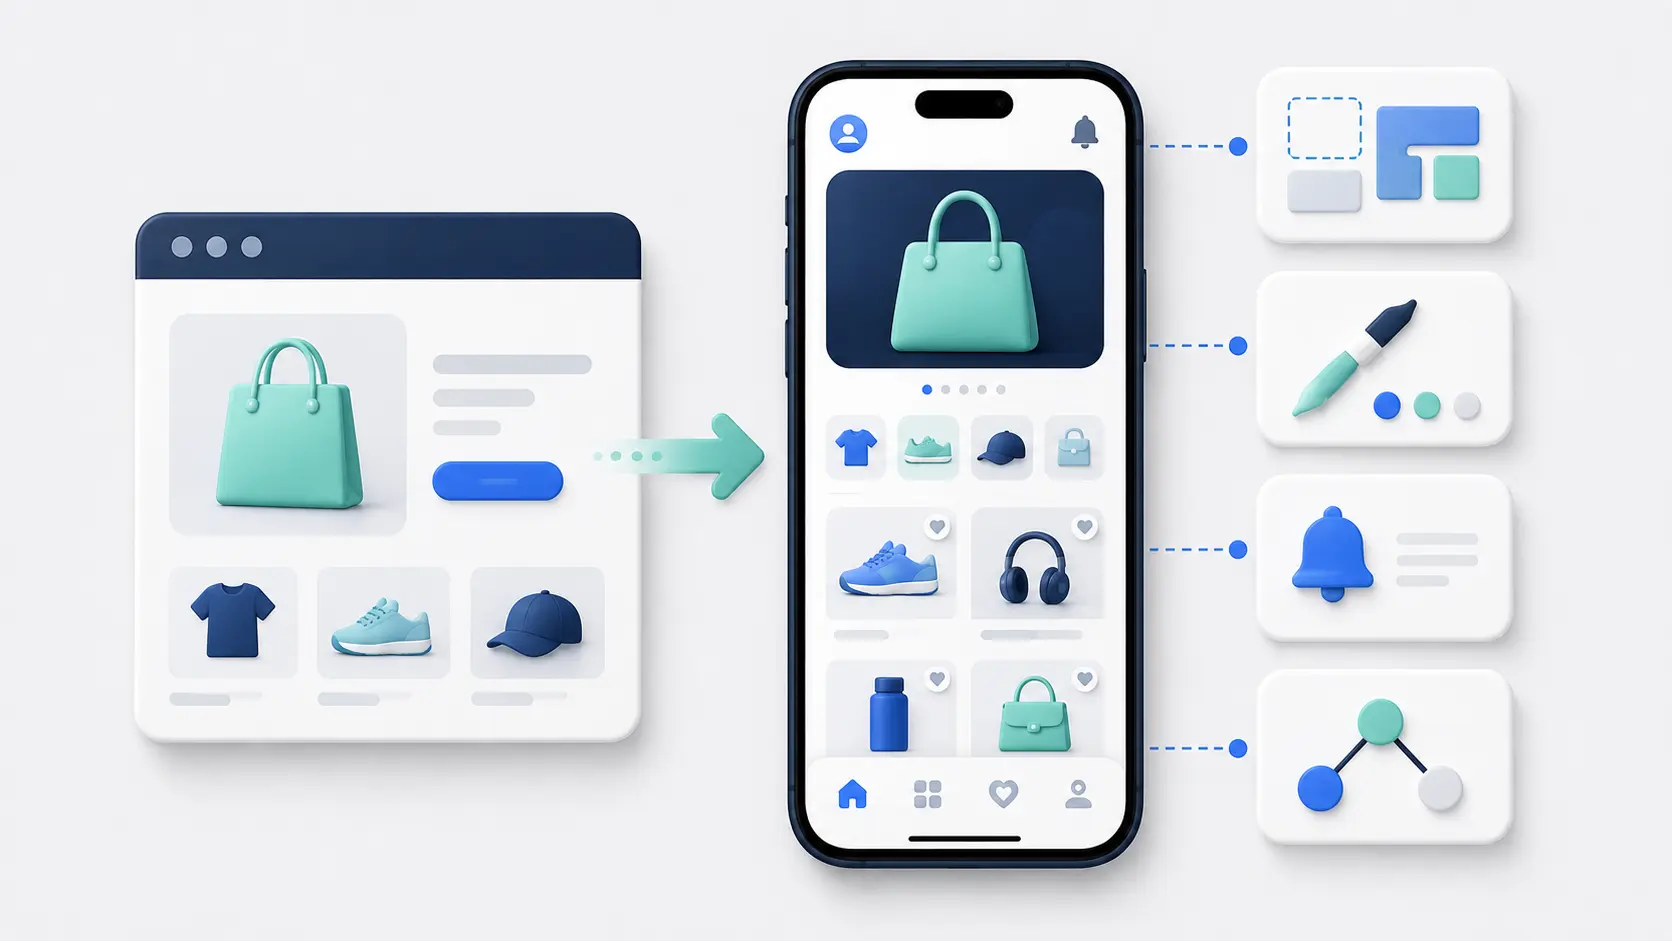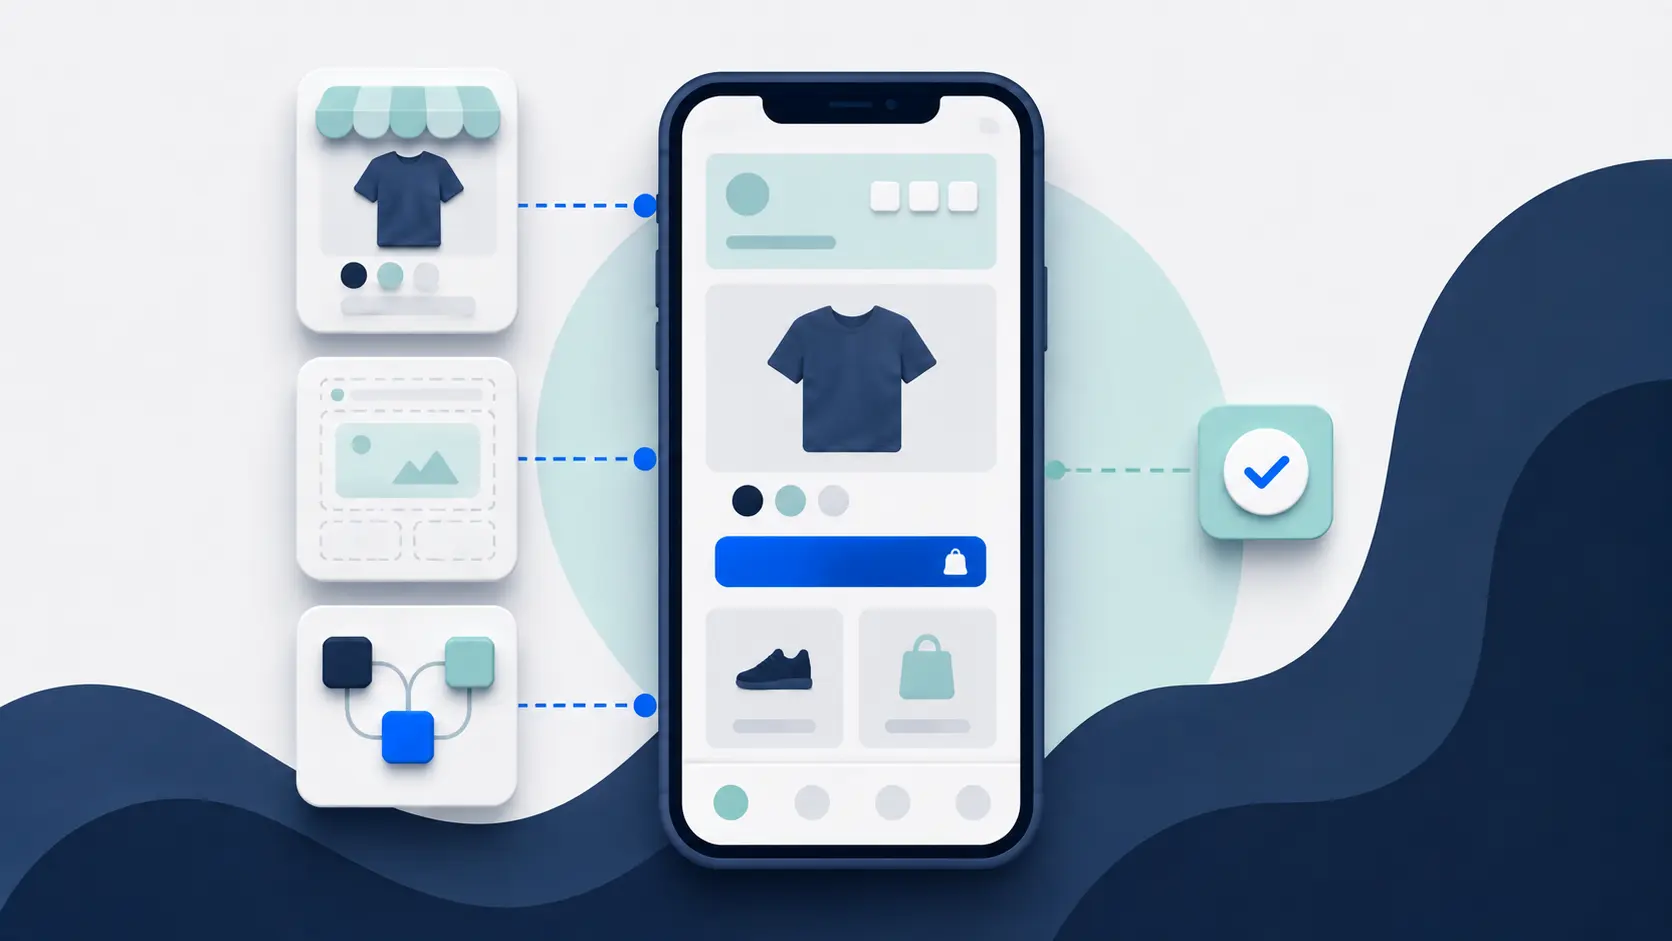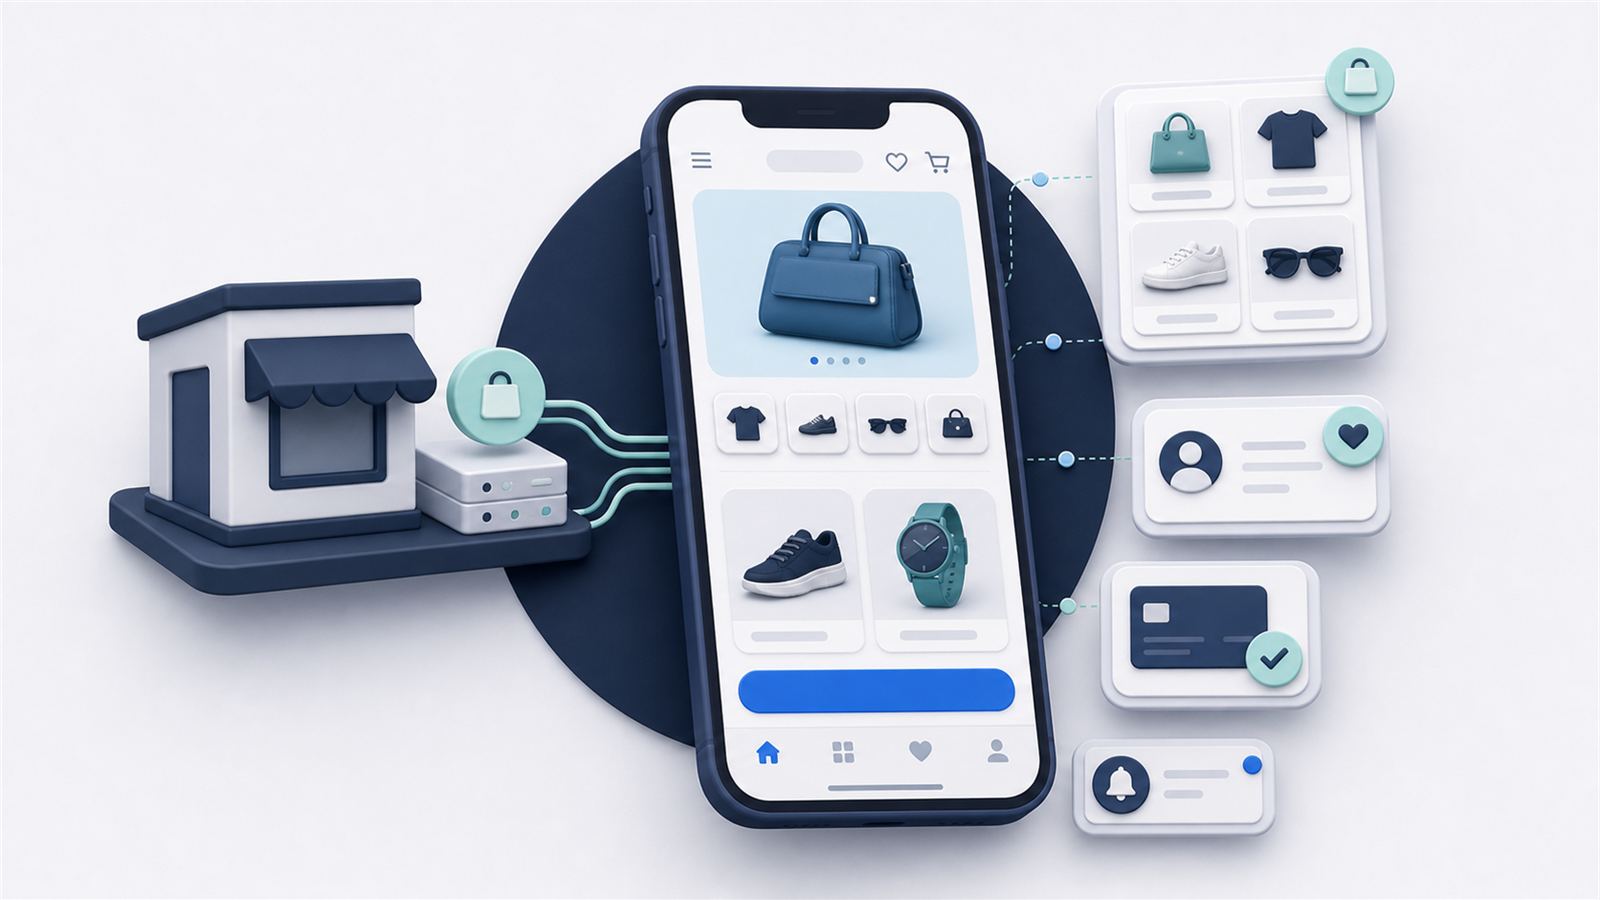
You don’t need to rebuild your entire ecommerce operation to launch a mobile app for Shopify.
Your store already has the important foundations: products, inventory, customers, orders, checkout and the integrations your team uses every day. The job is to turn that working operation into a strong iOS and Android experience without breaking the parts that already work.
This guide takes you through the project in order, from choosing the right build route to testing, submission and launch.
The Short Answer
There are three main ways to build a mobile app for Shopify:
- Use a Shopify mobile app builder to create a separate app storefront with prebuilt components.
- Use your existing Shopify website as the foundation of the app and add native features around it.
- Build a custom mobile frontend using Shopify’s APIs and mobile development tools.
Whichever route you choose, the project follows the same basic sequence. Define the job of the app, audit your store, choose the architecture, map the experience, connect Shopify and your other tools, add native features, test everything, submit the builds and promote the launch.
The route you choose changes the cost and technical work. It doesn’t remove the need for a clear scope or someone to own the channel after launch.
Step 1: Decide What the App Needs to Achieve
Start with the commercial job, not the interface.
Most Shopify apps are built to improve retention. They give loyal customers a faster way to return, make it easier to reorder and add push notifications as another direct communication channel.
Turn that general idea into a specific goal. For example, you might want the app to increase repeat purchase frequency, give VIP customers early access to launches or create a better account and subscription experience.
Then define how you’ll measure it. Useful primary metrics include monthly active users, repeat purchase rate, app revenue per user and customer retention. Downloads matter, but they don’t tell you whether the app has become a useful channel.
This decision keeps the first version focused. If the app’s main job is reordering and retention, you can prioritize persistent login, account tools, push notifications and fast product discovery instead of building a long list of features that don’t support the goal.
Step 2: Audit the Shopify Store You Already Have
Before you choose a platform, document what the app has to preserve.
Start with the main purchase journey: homepage, collections, search, product pages, cart and checkout. Then map the functions around it, including customer accounts, subscriptions, loyalty, reviews, wishlists, bundles, product options, returns, support and analytics.
Don’t stop at a list of vendors. Record what customers do with each tool.
“Recharge integration” isn’t a complete requirement. Do customers only start subscriptions, or do they also skip deliveries, swap products and change payment details? “Loyalty integration” might mean showing a points balance, or it might include earning, redemption and VIP tiers.
The more customized your store is, the more important this audit becomes. Standard catalog data is straightforward to connect. Unique customer journeys are where app projects usually gain scope or lose parity with the website.
Step 3: Choose How You Want to Build the App
Your build route determines how much you can customize, what your team needs to manage and how closely the app follows your website.
Use a Shopify Mobile App Builder
An app builder connects to Shopify and gives you prebuilt screens, design blocks and a visual editor. The provider maintains the underlying mobile framework and produces the iOS and Android apps.
This is usually the fastest route for a store with standard requirements. You can arrange a dedicated app experience without hiring a complete development team.
The trade-off is that the app lives inside the builder’s component and integration system. Your Shopify theme doesn’t become the app, and custom web features may need a supported integration or new development.
Our guide to the best Shopify mobile app builders compares the main options by storefront model, pricing, integrations and management workload.
Use Your Existing Shopify Website
A website-powered app keeps your mobile website as the main storefront and adds native navigation, push notifications, deep links and app-store packaging around it.
This route makes sense when your current store already has the design and customer journeys you want. Your theme, landing pages and customer-facing Shopify apps can carry into the app instead of being recreated in a second editor.
The app will inherit the strengths and weaknesses of your mobile site. Fix slow pages, awkward navigation and difficult forms before treating the website as the foundation of the app.
Build a Custom Mobile Frontend
Custom development gives you control over the full interface and feature set. Shopify provides a mobile commerce development path built around the Storefront API, Customer Account API and Checkout Kit.
This route is justified when the app needs to do something that a shared platform can’t support. It also creates a software product your team or agency must maintain across Shopify API changes, iOS, Android, integrations and app-store requirements.
Choose custom development for a real product requirement, not simply because custom sounds more premium.
Step 4: Define the First Version of the App
Your first release needs a complete shopping journey, not every idea on the roadmap.
Define the screens and flows customers need from opening the app to completing a purchase. For most stores, that includes home, navigation, collections, search, product details, cart, checkout, customer login and account access.
Add the native features that support the app’s job. Push notifications and deep links are usually central. Persistent login, biometric authentication, native sharing or app-only screens may also be useful depending on the experience.
Keep a second list for later releases. This prevents loyalty redesigns, community features, live shopping and experimental personalization from delaying the foundation.
A focused first version is easier to test and launch. It also gives you real customer behavior before you commit to the next set of features.
Step 5: Map the App’s Navigation and Content
The app shouldn’t copy your desktop navigation without thought.
Decide which destinations deserve a permanent place in the tab bar and which belong in a menu. Make common actions easy to reach with one hand. Search, account, cart and your main shopping categories should never feel buried.
If you’re using a visual builder, this is where you arrange pages and content blocks in its editor. If you’re using a website-powered route, you’ll decide which native navigation opens web content and where app-only elements should sit. A custom project turns the same map into product and design specifications.
Plan how content will stay current after launch. If your ecommerce team changes website campaigns every week, decide whether those changes update the app automatically or need to be repeated in a separate content system.
That operating workflow matters as much as the launch design.
Step 6: Connect Shopify Data, Accounts and Checkout
Shopify should remain the source of truth for the commerce operation.
Products, variants, prices, collections and inventory need to reach the app. Orders placed in the app should enter the same Shopify admin, payment, fulfillment, reporting and support workflows as website orders.
For custom builds, the Storefront API supports product discovery, carts and checkout. Shopify recommends the Customer Account API for customer-scoped data and authenticated actions, including orders, payments, fulfillment and refunds.
Shopify’s Checkout Kit can embed Shopify checkout in iOS and Android apps. It uses the checkout URL created from the cart and supports Shop Pay and other wallets.
App builders and managed services handle much of this setup for you. You still need to verify the behavior with your configuration. Test markets, currencies, discounts, shipping methods, taxes, customer accounts and every payment method you expect people to use.
Step 7: Reconnect the Rest of Your Ecommerce Stack
Your app also needs to work with the tools customers see around Shopify.
Take the audit from Step 2 and test each essential journey. Reviews should appear where customers expect them. Loyalty balances and redemption need to stay accurate. Subscription customers need the account controls they use on the site. Search, filters, bundles and product options need to produce the right cart.
API-based app builders usually need a dedicated integration for each service. A website-powered app can preserve more existing functionality because it continues using the web storefront. A custom app requires your developers to connect and maintain each integration.
Ask what happens when a vendor changes its API, SDK or frontend. “Supported at launch” is different from “maintained as the stack changes.”
Set up analytics at this stage too. Make sure Shopify orders can be attributed to the app and that your mobile analytics records the events needed to understand activation, browsing, cart activity, checkout and retention.
Step 8: Add Push Notifications and Deep Links
Push notifications are one of the main reasons to launch an app, so they shouldn’t be bolted on at the end.
Decide which system will send them. Some builders have their own push platform, while others integrate with tools such as Klaviyo or OneSignal. Make sure customer segments and consent state are handled correctly across your stack.
Build deep links for the destinations you’ll use in campaigns. A product launch should open the product. A restock alert should open the correct variant where possible. A cart reminder should return the customer to the cart.
Plan the permission request as part of onboarding. Asking for notification access before the customer understands the value makes it easy to say no. Give them a reason first, then ask at a moment connected to that reason.
You also need an approach for customers who decline. The app should work properly without notification permission, and your settings should make it easy to change the choice later.
Step 9: Set Up Developer Accounts and Ownership
Your company should normally own the Apple and Google developer accounts used to publish the app.
The Apple Developer Program costs $99 per year. Organizations may need to complete legal-entity verification and provide a D-U-N-S Number. Google Play Console charges a $25 one-time registration fee and also verifies developer identities.
Start this work early. Account details, legal names and verification can hold up submission even when the app itself is ready.
Keep control of the app listings, bundle identifiers, signing credentials and analytics properties. A provider or agency can manage the work without becoming the only party that owns the assets.
Confirm what can be transferred if you change providers later. Store data remains in Shopify, but the app listing, reviews, push audience and publishing identity have value of their own.
Step 10: Test the Full Customer Journey
Test on real iPhones and Android devices, not only an editor preview.
Cover the obvious flows: navigation, search, products, variants, cart, discounts, checkout, login, account management and order history. Then test the conditions that expose problems, such as slow connections, expired sessions, out-of-stock products, invalid discount codes and payment failures.
Use your real Shopify configuration. A clean demo store won’t reveal a conflict with your subscription product, unusual bundle, local payment method or customized checkout.
Check deep links from email, SMS, QR codes and push notifications. Confirm that analytics events fire once, attribution is preserved and orders appear correctly in Shopify.
Give the build to people who weren’t part of the project. They will find assumptions your internal team has stopped noticing.
Step 11: Prepare the App Store Listings and Submit
Apple and Google need more than the app files.
Prepare the app name, description, category, icon, screenshots, privacy information, support details and any reviewer instructions. If login is required, reviewers may need a working test account and a clear explanation of the app’s main flows.
Apple reviews submissions against its App Review Guidelines. Google also reviews new apps and updates for policy and technical requirements.
Leave time for questions or rejection. A first submission can surface missing disclosures, account problems, broken test credentials or an experience that doesn’t meet store requirements.
The provider or agency should explain who prepares the materials, who submits, who answers reviewer questions and who makes any required changes.
Step 12: Launch the App to Your Existing Customers
Your current customer base is the fastest route to the first useful audience.
Promote the app on your website, in email and SMS, through loyalty communications, on order-status pages and inside packaging. If you have stores or events, use signs and QR codes where customers already interact with the brand.
Give people a specific reason to download. Early access, app-only products, a first-order benefit, faster reordering or a better loyalty experience are stronger than a generic request to install another app.
Plan the first month of push messages before launch. You don’t need to send constantly, but the channel should feel alive after customers opt in.
Watch reviews and support tickets closely. Early feedback will show where onboarding is unclear, logins fail or customers expect a feature you haven’t explained.
How Long Does It Take to Build a Shopify App?
A platform-based app can launch in several weeks when the store is straightforward, requirements are clear and developer accounts are ready. A custom project can take several months or longer.
The code isn’t the only variable. Design approvals, integrations, account verification, testing and app-store review can all move the date.
Build your timeline backward from a target launch, but don’t make a campaign date depend on immediate approval from Apple and Google. Submit with enough room to respond to review feedback.
Common Mistakes to Avoid
The most expensive mistakes happen before launch.
Choosing a platform before auditing the store can leave an essential integration unsupported. Copying the website into a separate editor can create ongoing work your team didn’t plan for. Starting custom development without a tight first version can turn a focused commerce app into an open-ended software project.
Teams also underestimate distribution. A finished app with no download plan isn’t a finished channel.
Finally, don’t leave ownership vague. Know who owns the accounts, listings, credentials, data and ongoing work before signing a contract.
Final Thoughts
Building a mobile app for Shopify is mostly a matter of choosing what to reuse and what to create.
Shopify already provides the commerce operation. Your job is to select the right frontend approach, preserve the customer journeys that matter and add native features where they make the experience more useful.
Keep the first version focused, test it against the store you really run and plan the operating work before launch. A simpler app your team can keep current will do more for the business than an ambitious build that becomes difficult to maintain.
Shopify App Building FAQs
Can You Build a Shopify Mobile App Without Coding?
Yes. Shopify mobile app builders provide visual editors and prebuilt commerce components. Website-powered services can also turn your existing store into an app without asking your team to write the native code. Custom requirements may still need developer work.
Does Shopify Host the Mobile App?
Shopify continues to host and manage the commerce backend, including products, orders and checkout. The mobile frontend and app infrastructure are provided by your app builder, managed service or custom development stack.
Can You Publish Through an App Builder’s Developer Account?
Some providers allow it, but publishing through accounts owned by your company usually gives you cleaner control over the listing, reviews and future transfers. Confirm ownership before launch.
Do You Need Shopify Plus to Build a Mobile App?
No. App builders and custom storefront tools can work with stores outside Shopify Plus. Your plan can still affect specific checkout, B2B, market and customization requirements, so check the features your app needs.
Can the App Use the Same Shopify Checkout?
Yes. App builders and website-powered services normally connect back to Shopify checkout. Custom mobile storefronts can use a checkout URL and Shopify’s Checkout Kit. Test the flow with your payments, discounts, markets and customer accounts.