WooCommerce doesn’t have a switch that turns your store into a branded customer app.
The official Woo mobile app is built for merchants. It lets you manage orders, products, payments, and store activity from a phone. It isn’t a mobile app your customers download to browse your catalog and place orders.
To create that kind of app, you need to build a new mobile frontend, use a WooCommerce app builder, or package your existing mobile storefront inside an app with a native layer around it.
The right route depends less on WooCommerce itself than on everything you’ve added to it: your theme, plugins, checkout, product types, customer accounts, payments, and custom code.
This guide breaks down the different ways you can approach building a mobile app for your WooCommerce store, plus the full process you need to go through, from planning to launch.
The Short Answer
There are three main ways to build a WooCommerce mobile app:
| Approach | Best for | Main tradeoff |
|---|---|---|
| WooCommerce app builder | Standard stores wanting a no-code workflow | The app builder may not support every plugin or customization |
| Website-powered app | Stores that want to preserve their existing mobile site and stack | The app depends on the quality and reliability of the website |
| Custom mobile app | Teams needing complete control over the interface and architecture | Highest cost, longest timeline, and most maintenance |
Whatever route you choose, the result can be good or bad. The decision of how to build your app is just one part of the overall build and maintenance lifecycle of your app.
If you want your app to be a success, make sure you understand how it fits into your business strategy, and dedicate the time to it after you launch, to grow and maintain the app.
Step 1: Decide Why You Want an App
Start with the customer and commercial problem.
A mobile app can give repeat customers faster access to your store, persistent login, push notifications, app-specific navigation, saved preferences, loyalty access, and useful native features. It can also become an expensive duplicate storefront that few customers use.
Define the app’s job in one or two sentences. For example:
- Give frequent customers a faster way to reorder.
- Create a reliable channel for product-drop and restock alerts.
- Bring loyalty, account, and in-store tools into one place.
- Improve the mobile experience for a complex product catalog.
This goal determines what belongs in the first version and how you’ll measure success. “We need an app because competitors have one” doesn’t give the team enough direction.
If you’re unsure whether the channel makes sense yet, use the questions in our guide to whether your ecommerce store needs a mobile app.
Step 2: Audit Your WooCommerce Store
WooCommerce core is only part of the system you’re turning into an app.
Create an inventory of everything that affects the customer experience:
- Theme, page builder, custom templates, and frontend code
- Product types, variations, bundles, subscriptions, and product add-ons
- Search, filters, recommendations, reviews, and wishlists
- Login, account pages, loyalty, memberships, and saved data
- Tax, shipping, payments, fraud checks, and address validation
- Languages, currencies, regional catalogs, B2B rules, and marketplaces
Add analytics, consent tools, customer support, attribution, and marketing scripts as well. Some won’t need to work exactly as they do on the web, but you need an explicit decision for each one.
Mark every item as required for launch, useful later, or unnecessary in the app. This becomes the acceptance criteria you use to compare vendors and test the finished product.
Step 3: Choose How to Build the App
The build approach controls how much of your store is reused and how much has to be recreated.
Here are three ways to do it.
Use a WooCommerce App Builder
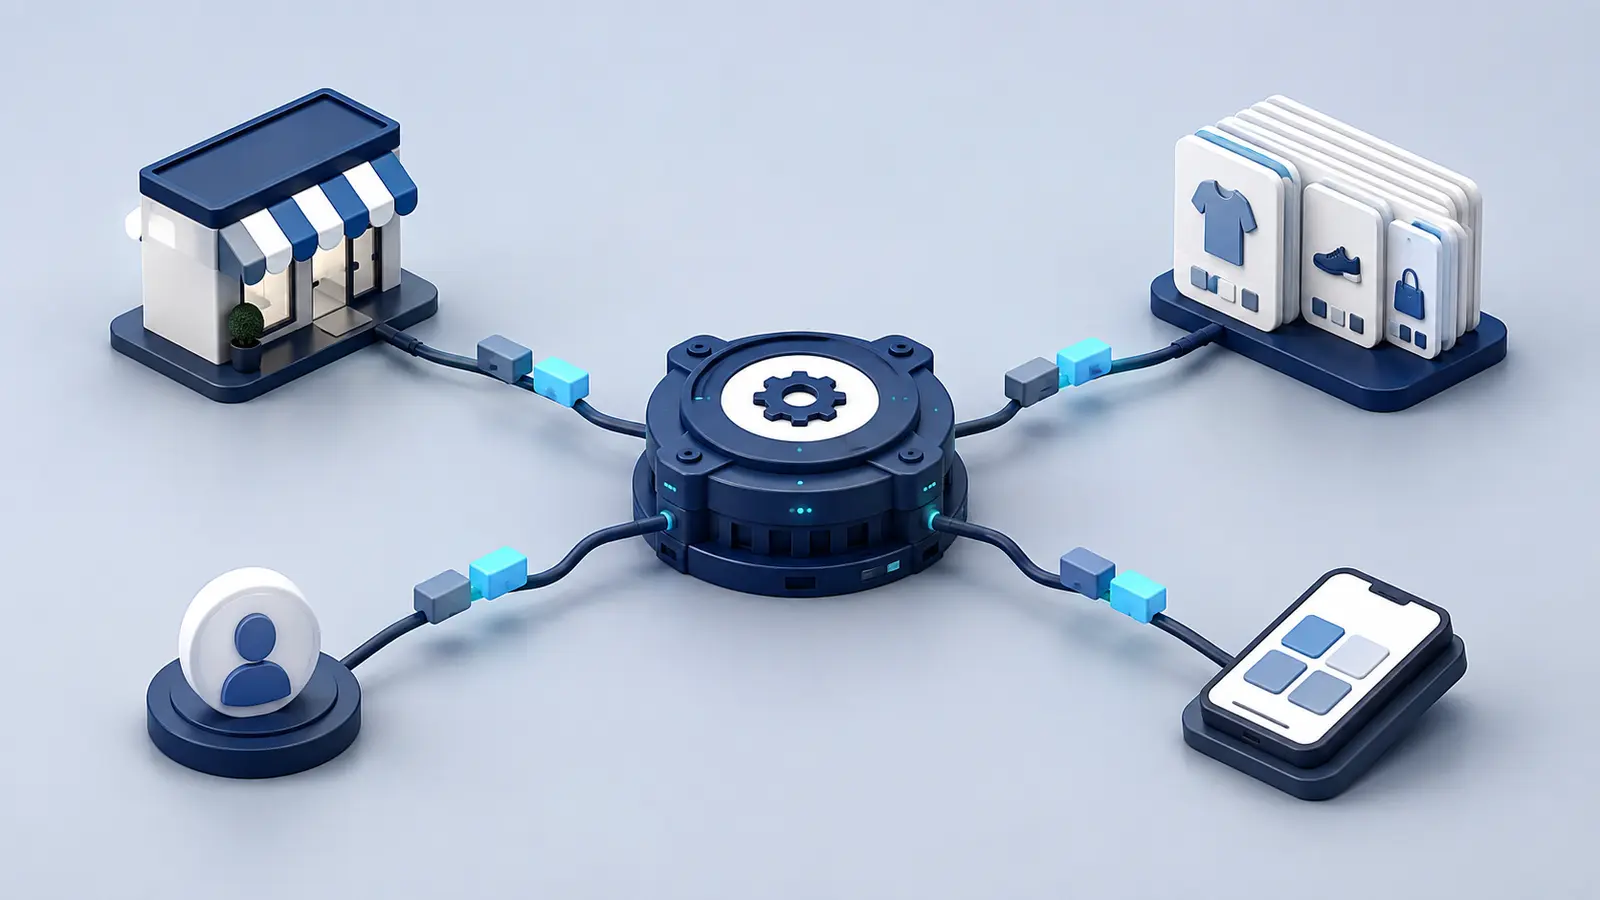
WooCommerce app builders connect to your store and create an Android and iOS shopping interface from its data.
Many use the WooCommerce REST API or Store API. WooCommerce’s Store API provides public endpoints for customer-facing products, cart, and checkout. The broader REST API covers products, orders, customers, coupons, shipping, and other store resources with authenticated access.
The builder handles the mobile frontend, navigation, push notifications, builds, and sometimes submission. Your team configures layouts and campaigns through its dashboard.
This is often the fastest route for a standard store. The limitation is compatibility. A builder can synchronize normal WooCommerce products while missing the plugin that controls your bundles, delivery slots, loyalty balance, subscription management, or checkout.
Ask vendors to prove required workflows on your store rather than confirming that they “support WooCommerce.” Our comparison of the best WooCommerce mobile app builders explains the main models.
Use Your Existing Website as the App
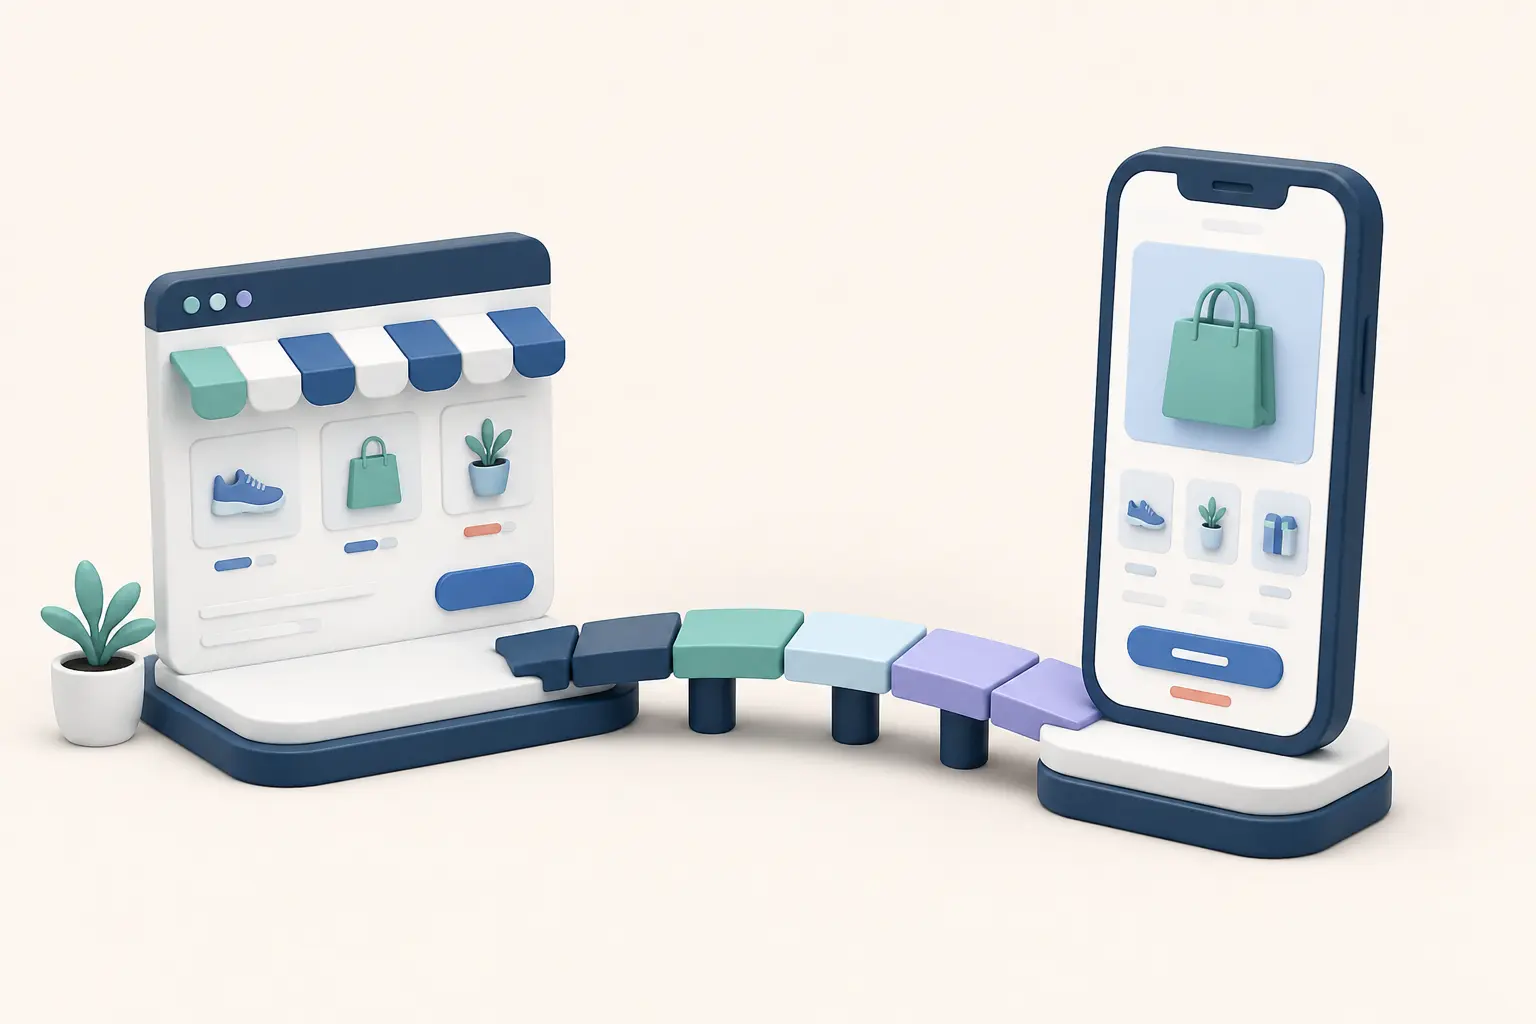
A website-powered app builds on top of your existing website, instead of alongside it. Your website provides the core functionality and content, while a native layer that includes native navigation, push notifications, deep links, app permissions, and other device features sit around the web experience.
This approach can preserve your theme, plugins, content, account pages, and checkout because the same storefront continues to run in both places. Your team makes most changes once, on the site.
It could easily be lumped in with WooCommerce app builder category. At their core, they’re both ways to build a custom app for your site without coding or hiring developers. There’s just a distinction in how each one does it.
This direction works best when your mobile website is already fast, responsive, and touch-friendly. Since your website powers the app, if your website’s UX isn’t up to standard, neither will your app.
The idea isn’t to solely mirror your web experience, though. You may still want to hide browser-specific elements (e.g. your site footer or email optins), simplify headers, handle external links, improve loading states, and make parts of the site behave differently when opened inside the app.
Build a Custom Mobile Frontend
A custom app gives you control over the interface, architecture, and native capabilities. You can build separately for Swift and Kotlin or share more code with Flutter or React Native.
Your developers then connect the app to WooCommerce and the rest of your stack. The Store API can support public product, cart, and checkout functionality. Authenticated services are needed for customer accounts, protected data, order history, loyalty, and other private operations.
Custom development makes sense when your requirements genuinely exceed app builders and website-powered approaches. It also leaves your team responsible for mobile engineering, QA, releases, API changes, security, and long-term maintenance.
Step 4: Define the First Version
The first release should contain a complete shopping experience, not every idea the team has for the next three years.
At minimum, most ecommerce apps need product discovery, search, product pages, variants, cart, checkout, customer accounts, order access, support, analytics, and reliable deep links.
Add app-exclusive features only when they support the reason customers should install. Restock alerts, loyalty access, barcode scanning, store pickup, repeat ordering, or early product access can be valuable. A collection of novelty features can delay launch without making the app more useful.
Be especially careful about removing capabilities that already exist on your website. Customers don’t expect every app to transform shopping. They do expect it not to be worse than the store they already use.
Step 5: Map Data, Accounts, and Ownership
Write down where each important piece of information lives and which system is authoritative.
WooCommerce will usually remain the source for catalog, price, inventory, customer, and order data. Plugins or external systems may own subscriptions, loyalty, reviews, search, personalization, tax, shipping, or payments.
Define how the app receives changes and sends actions back. Polling, webhooks, Store API calls, REST API calls, SDKs, and direct web experiences all behave differently.
Pay particular attention to identity. Decide how customers log in, reset passwords, create accounts, merge guest activity, and see existing web orders. Carts and saved items should behave predictably when a customer moves between web and app.
Our guide to ecommerce app APIs, integrations, and data sync covers this architecture in more depth.
Step 6: Design the App Around Mobile Tasks
Keep the app recognizable as your brand, but design for a smaller screen and repeated use.
Navigation should make the main shopping paths obvious. Search and filtering need to work with thumbs, not precise cursor movements. Product pages should surface price, variants, availability, delivery information, and the primary action without forcing customers through a wall of content.
Preserve the important logic from the website. If customers rely on a size guide, subscription selector, product configurator, delivery calculator, or compatibility checker, treat that as core product UX rather than an optional integration.
Use our ecommerce mobile app design and UX guide as the detailed review checklist.
Step 7: Add Push Notifications and Deep Links
Push notifications are one of the clearest reasons to have an app, but the permission prompt shouldn’t be the first thing every new user sees.
Ask after explaining the value or when the customer selects an alert. Support useful categories such as restocks, order updates, new releases, saved-product changes, loyalty events, and relevant promotions.
Every notification and app campaign should deep link to the correct product, collection, account view, or offer. Test links when the app is installed, not installed, logged in, logged out, and opened on both operating systems.
Decide who owns campaigns, consent, segmentation, delivery, and measurement before launch. A technical integration doesn’t create a useful notification program by itself.
Step 8: Create Developer Accounts Under Your Business
Enroll in the Apple Developer Program and Google Play Console using accounts controlled by your company.
Apple’s organization enrollment requires the legal entity and a D-U-N-S Number. The membership costs $99 per year in the US. Google Play charges a $25 one-time registration fee and offers Personal and Organization account types.
Your business should retain control of the listings, signing access, push credentials, analytics, and release history even if an agency or builder handles submission.
Don’t leave account creation until the week you want to launch. Identity verification, organizational records, agreements, permissions, and testing requirements can affect the schedule.
Step 9: Test the Real Customer Journey
Test on physical iPhones and Android devices across several screen sizes, operating-system versions, network conditions, and account states.
Run complete journeys including:
- Install and first open
- Browse, search, filter, and open products
- Select every important product type and variation
- Add to cart, apply discounts, calculate shipping, and pay
- Create an account, sign in, reset a password, and view an order
- Receive a notification and follow its deep link
Include failed states: out-of-stock changes, declined payments, expired sessions, slow networks, invalid coupons, external authentication, and interrupted checkout.
Also test analytics, consent, customer support, accessibility, account deletion, and every critical plugin from the audit. A transaction can succeed while tracking or customer data silently breaks.
Step 10: Prepare and Submit the Store Listings
Create the app name, icon, screenshots, descriptions, categories, support URL, privacy policy, age or content ratings, and required privacy disclosures.
Apple and Google review more than the binary. The app, listing, privacy answers, account behavior, test credentials, and reviewer notes must describe the same product.
If login is required, provide working review access and instructions. Make backend services available during review. Explain non-obvious flows, region restrictions, hardware dependencies, and anything a reviewer could mistake for a bug.
Our full app-store submission guide covers the current Apple and Google requirements.
Step 11: Launch to Existing Customers
An app-store listing doesn’t create distribution.
Start with employees and a controlled customer group. Fix onboarding, login, checkout, analytics, and notification issues before broad promotion.
Then use the channels you already own: mobile-site banners, email, SMS, post-purchase messages, loyalty communications, packaging, support, social content, and physical stores.
Give customers a specific reason to install. Faster repeat shopping, order alerts, loyalty access, early releases, or useful app-only tools are stronger than announcing that an app exists.
Track the full path from promotion exposure to install, activation, purchase, and retained use. Our guide to promoting an ecommerce mobile app covers the acquisition system in detail.
How Long Does It Take?
A straightforward builder project can take several weeks. A managed website-powered app often launches in roughly four to eight weeks. A custom build can take several months or longer.
WooCommerce complexity matters more than catalog size. A store with subscriptions, regional checkout logic, several custom plugins, and unusual account behavior needs more integration and testing than a larger store running standard WooCommerce flows.
App-store accounts, design approvals, test feedback, and review can also become schedule dependencies. Build slack into any promised launch date.
Common WooCommerce App Mistakes
The biggest mistake is choosing a builder from a demo store and discovering later that it doesn’t support your real plugins.
Others include exposing API credentials in the app, rebuilding a second storefront nobody has time to maintain, testing only successful checkout, publishing through an account the brand doesn’t control, and launching without analytics or a promotion plan.
Another common failure is treating the app as finished after approval. WooCommerce, WordPress, plugins, payment providers, operating systems, and store policies keep changing. Decide who owns maintenance before the first release.
Final Thoughts
Building a WooCommerce app isn’t mainly a product-synchronization project.
It’s an exercise in carrying a working commerce system onto another surface. The app needs to preserve the customer journeys that already matter, add a clear mobile benefit, and fit the amount of operational work your team can sustain.
Audit your real store first. Choose the build model second. Then test every required journey before asking customers to install.
WooCommerce Mobile App FAQs
These answers cover the practical questions that tend to come up before development starts.
Can WooCommerce Create a Customer Mobile App?
Not by itself. WooCommerce provides APIs and an extension ecosystem, but a branded customer shopping app requires a third-party builder, website-powered service, source-code product, or custom development.
Is the Official WooCommerce App for Customers?
No. The official Woo mobile app is for merchants to manage products, orders, payments, and store activity. It doesn’t become your brand’s customer-facing shopping app.
Can WooCommerce Plugins Work in a Mobile App?
It depends on the build model. API-based apps need support or integration for each plugin. Website-powered apps can preserve more web functionality. Every critical plugin should still be tested inside the finished app.
Do I Need WooCommerce REST API Keys?
Many builders and custom integrations use REST API keys, while customer-facing cart and checkout can also use the Store API. Follow the vendor’s access instructions, use the least privilege required, and never ship privileged secrets inside a public mobile app.
Can I Use My Existing WooCommerce Checkout?
Website-powered apps can usually retain the live checkout. API-based and custom apps may use WooCommerce’s Store API, a web checkout, or a separate checkout integration. Test all payment, shipping, tax, coupon, and account flows before launch.